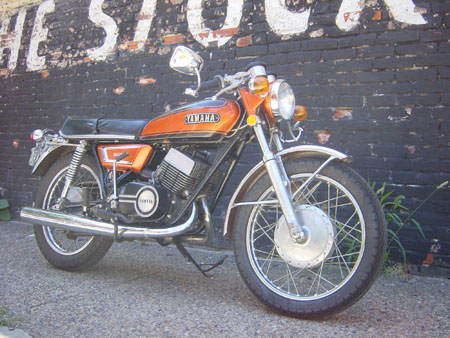
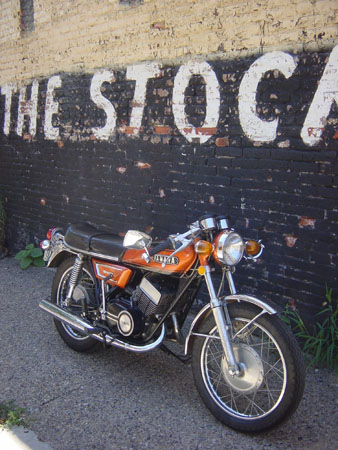
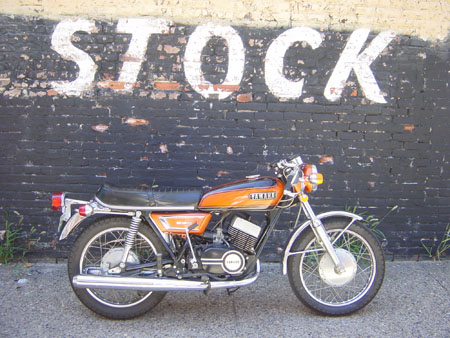
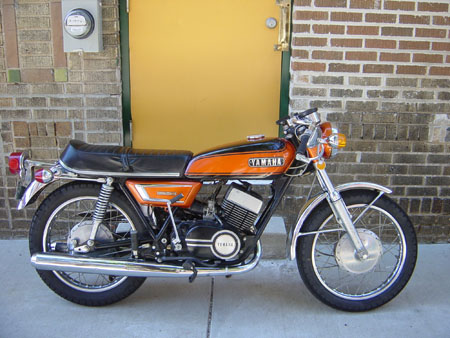
Mandarin Orange Paint Code
Wednesday, March 24, 2010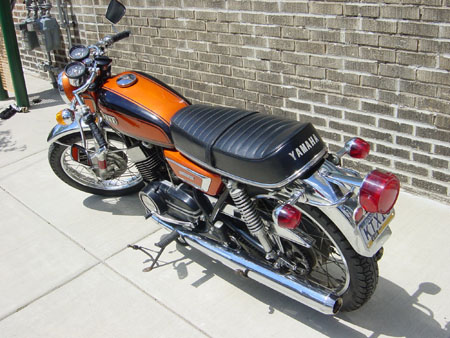
Paul writes in with a frequently asked question:
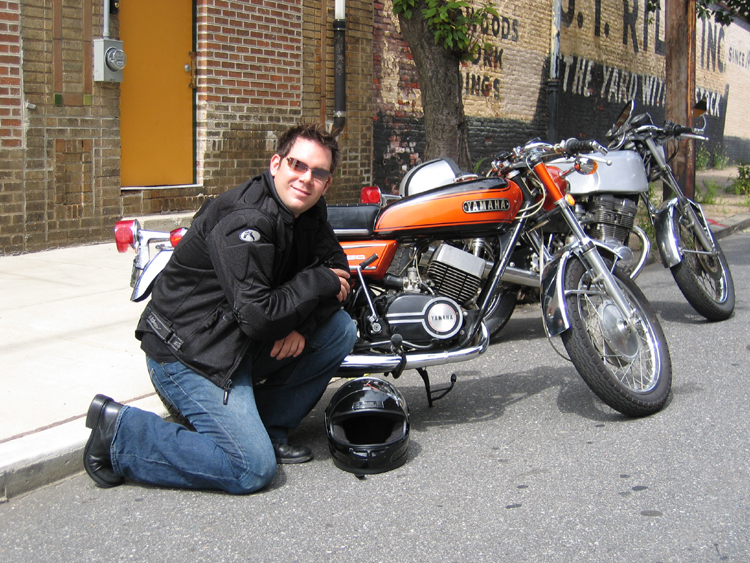
Hi. I am restoring an R5 and came across your thread. You mentioned House of Kolor paint but in regards to mandarin orange I didn't read what orange from House of Kolor you used? Can you let me in on this color?
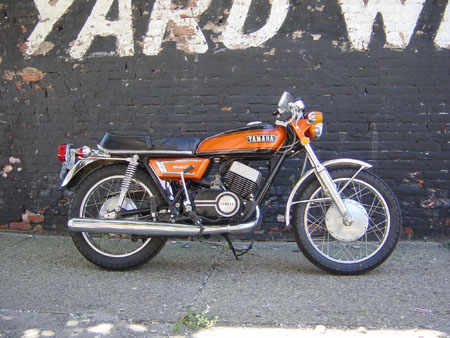
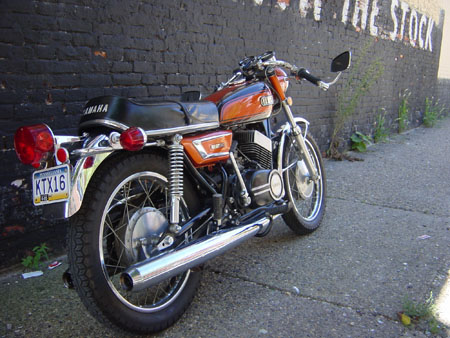
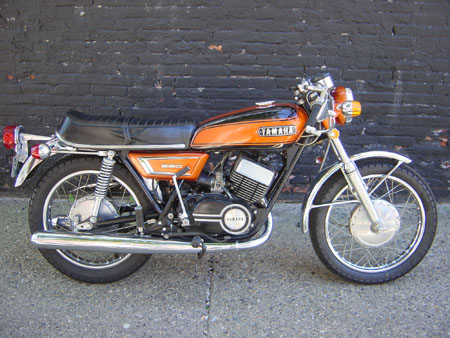
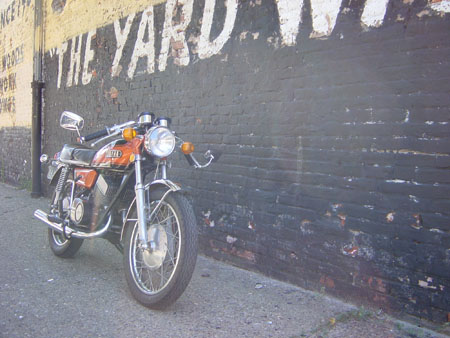
Good question! I've gotten a bunch of email from others looking for the orange metallic paint that's used on the R5... see these documents:
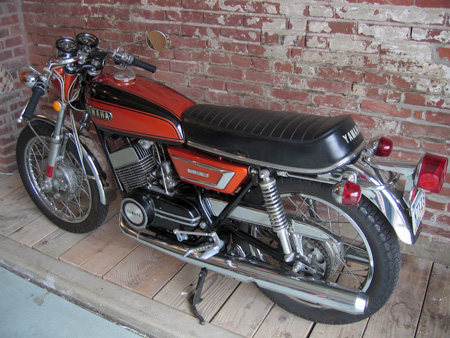
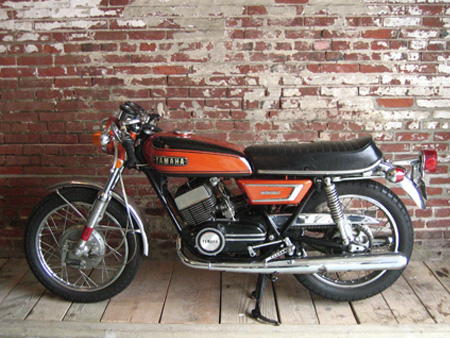
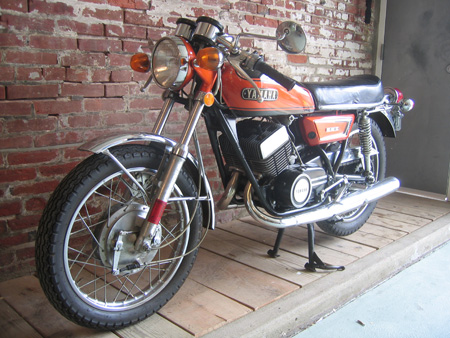
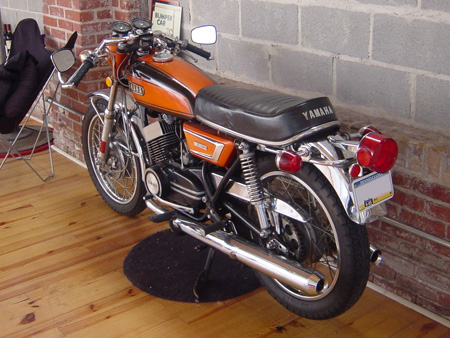
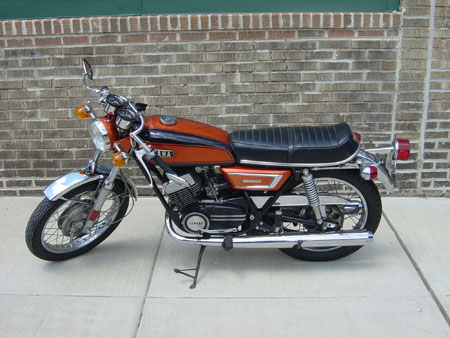
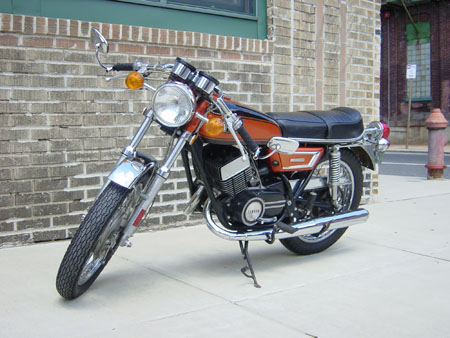
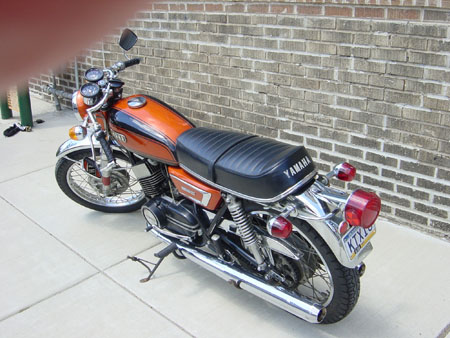
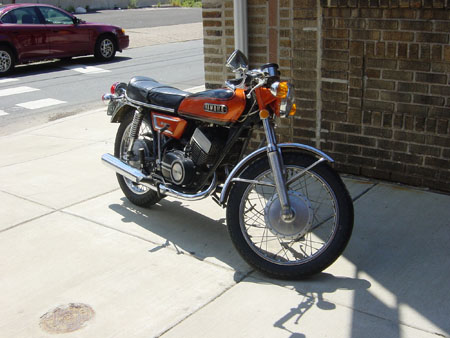
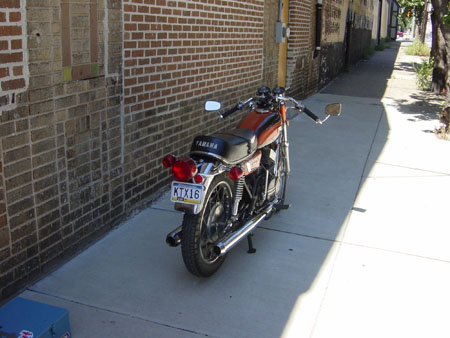
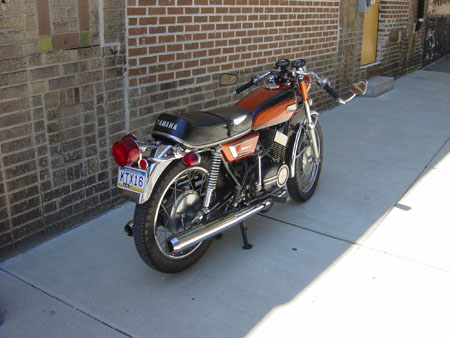
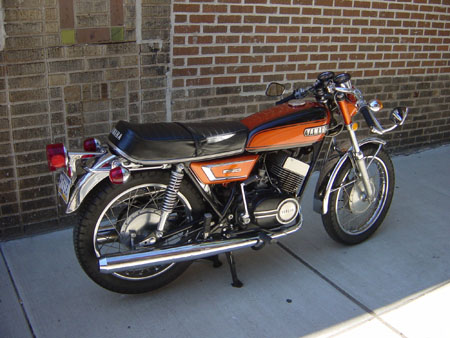
1971 R5B (656k PDF) - Mandarin Orange over white
1972 R5C (756k PDF) - Mandarin Orange over black
Well, after rooting around a little on the internet, I found a discussion about this very topic:
There are no codes! House of Kolor has paint that will get you there. Here is a link: http://www.hokpaint.com
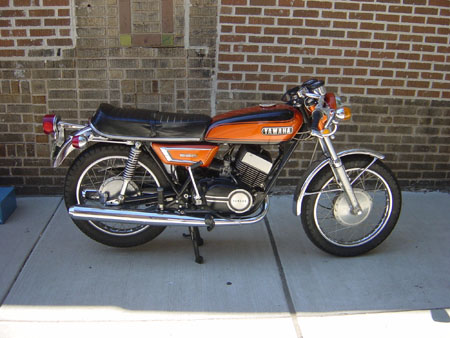
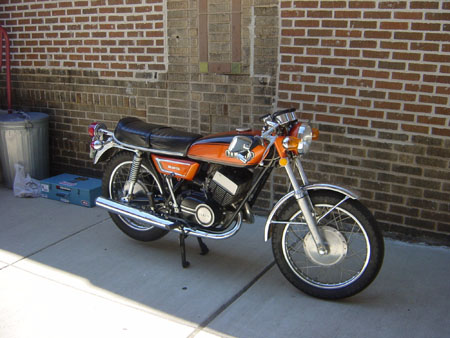
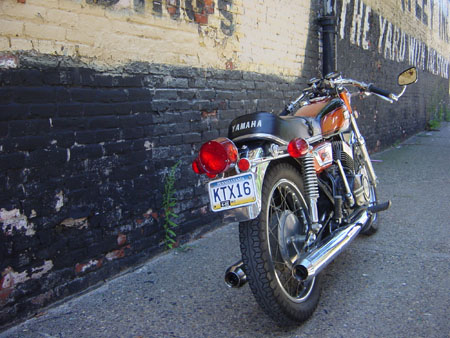
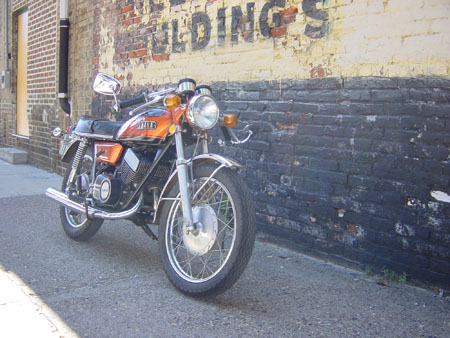
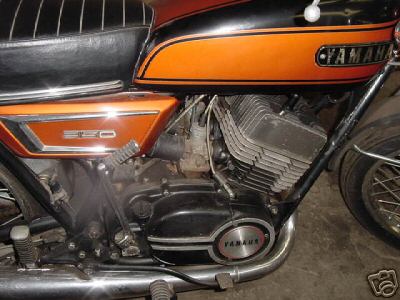
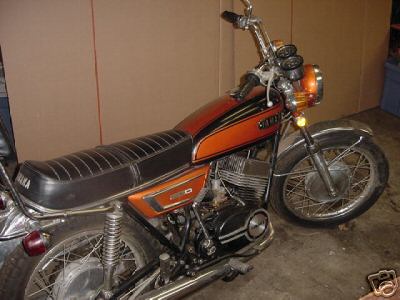
I have restored many early Yamahas and the orange you need is a candy shot over a silver base (fine grain). Black is black as long as all the black body parts are the same black. I've gotten a dead-on match to this color on my '71 R5 and I've matched the candy red on my '65 YDS3 and the candy blue on my '66 YM1 using these paints. The color varies depending on how soft or heavy you spray it on. That's how candies work, all the metalics are in the base coat and the color coat is translucent so more = darker. I hope this helps. Ed
So there you have it... there is no easy one-step solution. And, I'm not sure which HoK orange best matches the Yamaha mandarin orange.
However, I have found an outfit that is offering paint kits for all hard-to-find vintage Japanese bike colors, called Marbles Motors:
I am offering paint kits for the early 70's Hondas, Kawasakis, Yamahas and Suzukis. Perfect matches for the non-existent Candy and Metallic Colors that make or break a restoration effort. These colors have been elusive as Candy paints are not that popular these days, but I've managed to get the most popular colors matched and I am offering them in a kit along with the proper base color and catalyst that creates the original look of the bikes. E-mail me for more information. The paint is Deltron PPG DBC. If you don't see your color listed below and have a good representative part, I can do the matching process and provide you with the paint. Please be aware that the only shipping option for paint is via FedEx ground. Unfortunately, that means no International shipping. You get all the necessary materials to use or give to your painter with the exception of the primer and reducer. I can also supply the black or white paint for stripes, as well as the reducer if requested.
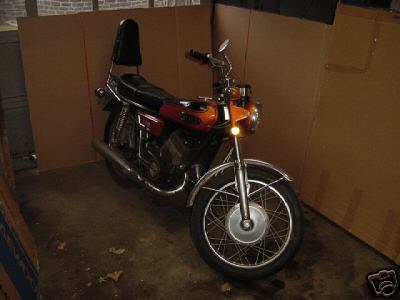
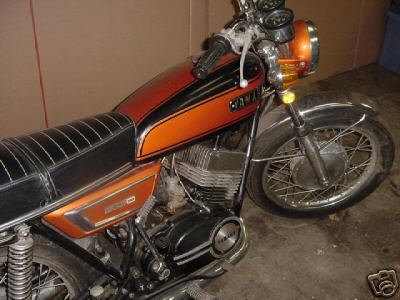
Looks like he has a Mandarin Orange paint kit that matches a 1972 Yamaha JT-2 mini-enduro (see examples of his restorations here, here and here). Same year as the R5C, so it makes sense that the color would match up - looks like it could, looking at the photos from his restorations. Worth investigating!
Get in touch with Randy Marble via email here.
Hope that helps!
Parts of this article originally appeared earlier on this blog here.
Labels: Reader Mail, Technical
Email this article:


